.
.
Gallery
Stuff I Have Seen In The Last Few Months and Some Fun Stuff Later.
Included below are some examples of how not to do things and avoiding these issues is the very reason I take a bit longer to do the job.
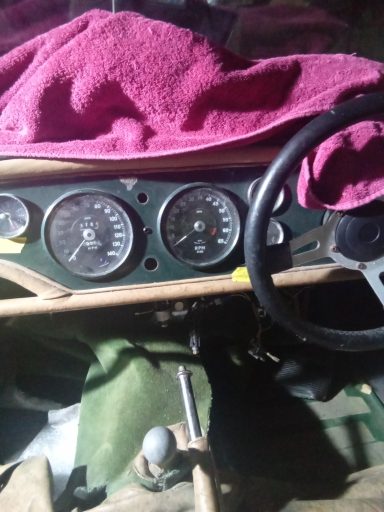
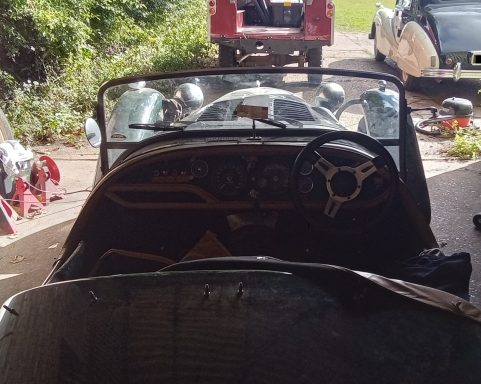
This car came in with a mess of elctrics. It had been standing for 25+ years. I took it from almost nothing working to fully functional.
Kouger Instruments. The paint on the dash was falling off at every touch( No primer used).
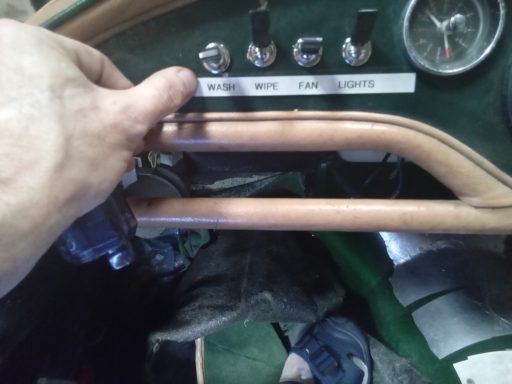
As this is a kit car. I did not do my usual extra wire removal as was already non original. Lots of wires left over from conversion.
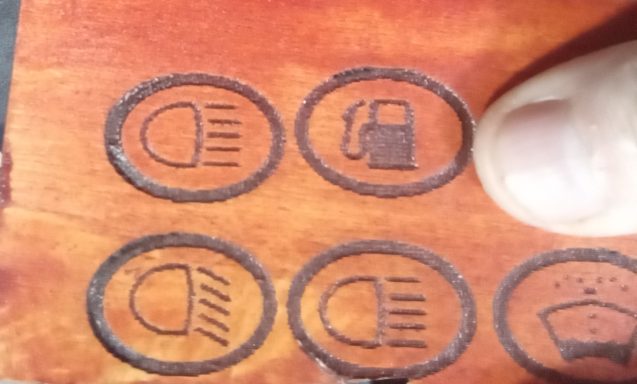
Marking where the switches are now located. Huge Issue with paint falling off (looks like no primer)but they were redoing it so all good.

Standing for 25+ years it had lots of issues. I am not sure what left the white streaks but it wasn't me.
Front View. Reg No hidden.

After buying specialist equipment as well as making up a Noid Light Array and doing 25 plus hours of (free) work. I walked
I was so close but mistake after mistake by people who shouldn't have but did anyway made it a challenge
This is what happens when the previous tech does not put the seal back

This was not done for aesthetic reasons. I had a lot of corrosion on the cover and bits were flaking off. No more flakes.
All cleaned and primed for reassembly. Best not forget the seal
Some fungus and another possible dry solder joint.

This was supposedly reconditioned at some point. I at first refused to believe that this was the case but then I realised NO SEAL.
The ECU needs to be reflowed, lots of dry solder joints as well as fungus etc.

Attention to detail is important. I was getting strange reading from the throttle position sensor. Found this checking linkages.
Can you see it?

It is vital when working on to take your time and make sure everything is correct.. Take pictures before if you are unsure
Throttle opens now. Finally my readings make sense.
An example of just why I take a bit longer to do things. You don't get that with soldered connections.
Not only can crimp connectors come out but they are also prone to corrosion build up between the connector and the wire.

It works out cheaper to just get someone who know what they are doing to fix the car. It took me longer to unravel the mess then to fix it.
Wires just get wrapped around by themselves
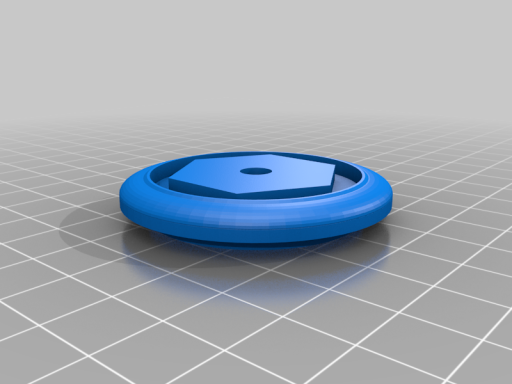
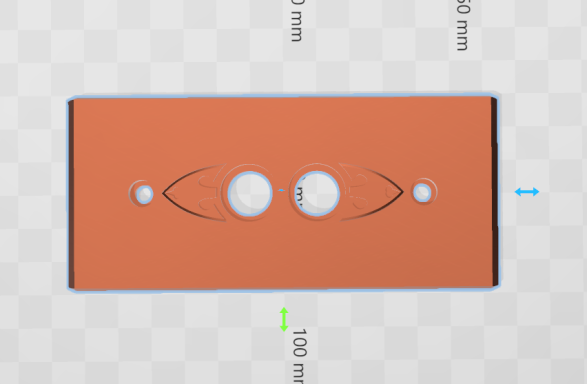
Window winder spacer x 2. Printed in black though
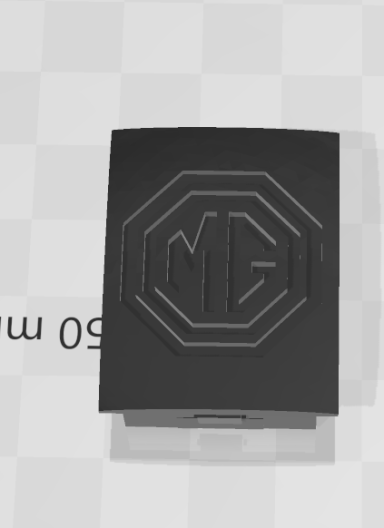
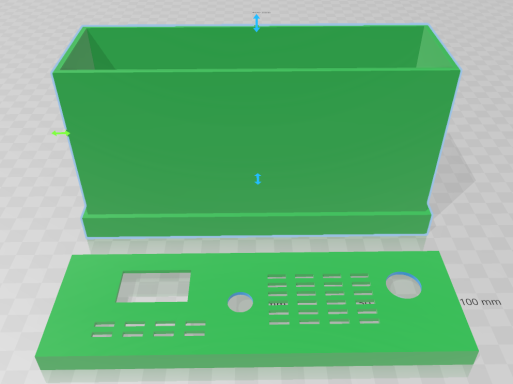
Radio housing designed and ready for printing
Fully enclosed to keep it from touching any part of the car.
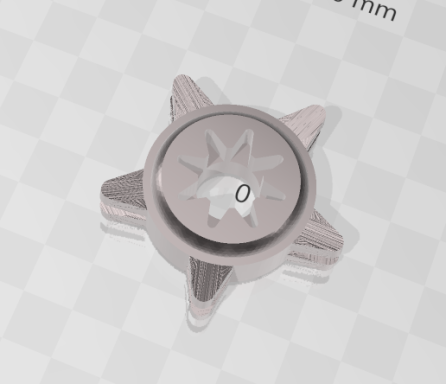
The new 3d printed gear and entire system was torture tested with 150 cycles of Up/Down. After completion was disassembled and checked.
How the finished article looked. PRINTED IN RESIN FOR STRENGTH AND TORTURE TESTED.

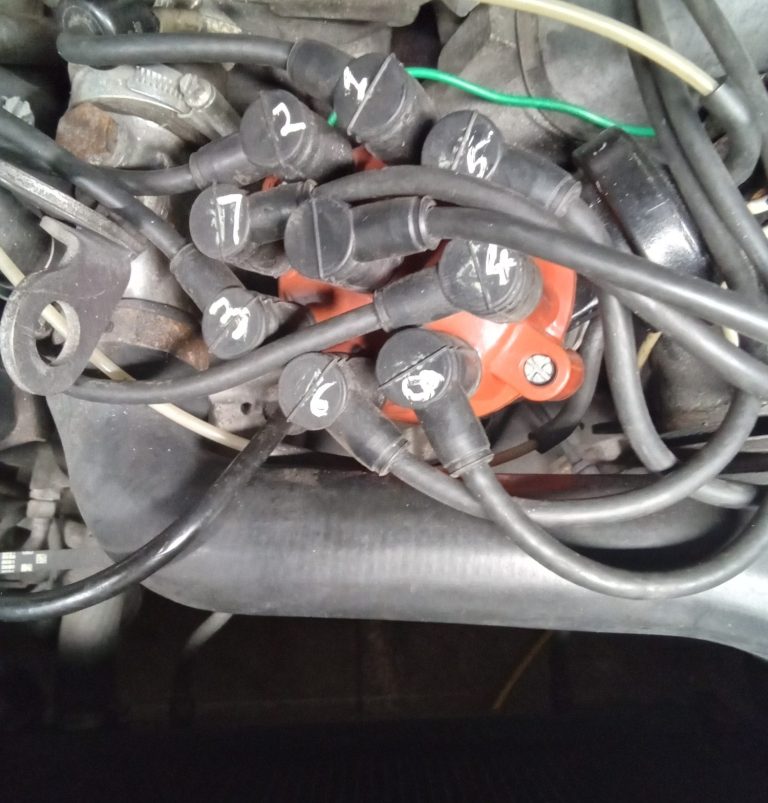
I had no pictures or diagrams to work with so putting this back to original was not possible. Instead I took off all the obvious additions
This is after getting rid of all the mess and taking it back to as original as I could.
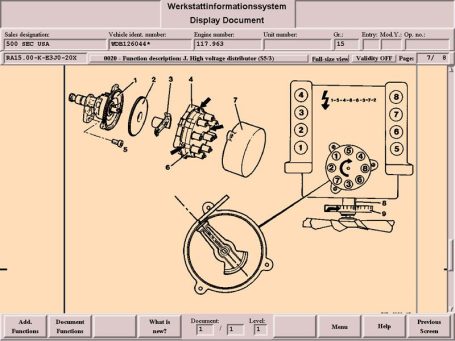
Some Videos Of Interest.
Have a look and see if you find anything interesting
We need your consent to load this video
We use a third party service to embed video content that may collect data about your activity. Please review the details in the privacy policy and accept the service to view the video.
Siddeley Star Sapphire Window Mech
First FAILED attempt at the limit switches
We need your consent to load this video
We use a third party service to embed video content that may collect data about your activity. Please review the details in the privacy policy and accept the service to view the video.
Siddeley Star Sapphire Window Mech
Test with new limit switch idea
We need your consent to load this video
We use a third party service to embed video content that may collect data about your activity. Please review the details in the privacy policy and accept the service to view the video.
Siddeley Star Sapphire Window Mech
Test BEFORE clean up and closing. I DID NOT TOUCH ANYTHING WITH MY GRUBBY FINGERS.
©Copyright. All rights reserved.
We need your consent to load the translations
We use a third-party service to translate the website content that may collect data about your activity. Please review the details in the privacy policy and accept the service to view the translations.

